How to Make Miso Soup in an Instant Pot

The pandemic continues, and I find myself fighting of unpredictable waves of lethargy. My culinary experiments have plateaued, to a certain degree, so I’m relying on old regulars. Recipes that I can cook without having to think too much about them.

One of these is a miso soup recipe for the Instant Pot which I though I’d share as this month’s post. (I also needed something short and automatic that I could knock out due to said lethargy.)

I found the recipe on Cookpad, which is a fantastic website that you should definitely explore, and the title basically explains everything: 圧力鍋で加圧1分☆根菜の味噌汁

Miso soup in a minute! Obviously it’s not quite this easy. There’s a minute of pressurized cooking time, but it takes maybe 10 minutes to get to pressure, another 15 for the pressure to release, and then 10-15 minutes for prep. But all in all it’s not too much of a fuss. I’ll summarize how I do it:

1. Prep the ingredients.

The base to the soup is:

Water, 1L
Dashi powder, 2 tsp
Miso, 2 tbsp

That’s the basic recipe, and you can really experiment with what you add to it. The recipe at the link calls for:

Daikon, maybe half a small daikon chopped
Carrots, 1-2 chopped
Abura-age, 1 chopped

But you can use sato-imo, enoki mushrooms, regular tofu, konnyaku, all sorts of delicious things! I’d recommend trying out different combos and different misos.

2. Add water, ingredients and dashi to the Instant Pot.

The only ingredient you may not need to add to the pot would be regular tofu, although I’m not sure about this. I don’t think it will hurt, though. Stir up the dashi so that it dissolves, add the carrots and daikon, and then put on the lid.

3. Cook on Manual for 1 minute.

Use the manual setting, and let it cook.

4. Use a natural pressure release.

Wait 15 minutes or so and the pressure will naturally release. You can do a manual release, but it will fire a stream of piping hot, daikon-scented steam into the air, which will fill your house. So I recommend waiting.

5. Add the miso.

Use a ladle to dissolve the miso into the Instant Pot a tablespoon at a time. Hold the ladle in the soup and fill it, but don’t let the miso blob out yet. Stir the miso and hot soup with a spoon or chopsticks until it breaks apart and dissolves into the soup.

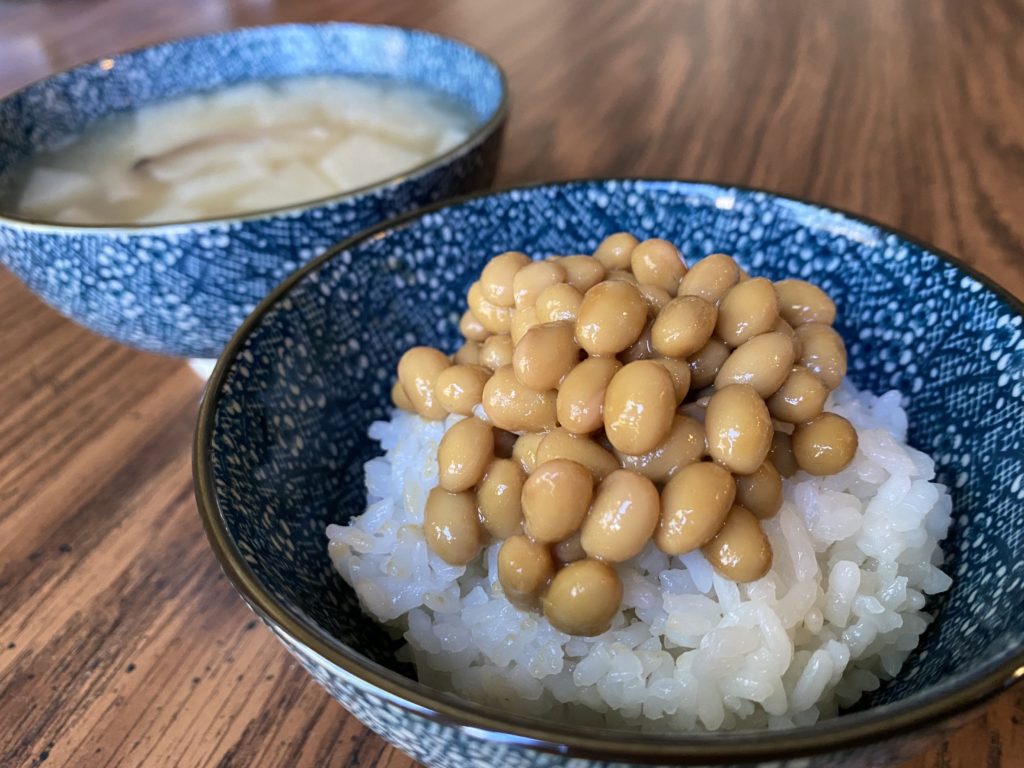
6. Eat! This is ready to go.

I’m not sure I ever learned how to make miso soup when I was living in Japan. I know I tried, but I only ever used miso. You really need the dashi to give it that fully realized flavor. And the daikon give it that big (farty) flavor and I’m sure are really healthy. I also love sato-imo, especially in the winter. They’re so hearty.

My only tip with this recipe is to not go overboard with the ingredients. Err on adding too few, otherwise you’ll end up with a miso stew instead of miso soup.

The only other thing of note is that this is the recipe that helped me learn the Japanese for “pressure cooker”: 圧力鍋 (atsuryoku nabe) – literally “pressurized nabe.” Love it.

How to Make Nattō in an Instant Pot

I’m in the Japan Times this week with a lesson about how to make nattō: “One man’s journey to perfect homemade nattō.”

A few weeks back I saw some folks discussing nattō on Twitter, which made me realize that I hadn’t made Japanese breakfast for a while. There was a stretch in 2019 after a business trip to Japan when I ate 和食 breakfast every day for about six months or so.

I had enough to put together miso soup and salmon pretty easily, and I realized that I probably had the equipment to make nattō. I started Googling around a little, and, sure enough, I found Japanese recipes for making nattō using the yogurt setting on an Instant Pot.

Like yogurt, nattō is fermented by bacteria and needs to be held at warm temperatures for enough time for the germs to do their thing. I’ve been brewing beer and making yogurt long enough to have a decent sense of how things work, so I decided to give it a shot. It’s not all that hard!

I found the soybeans pretty easily at one of the Asian market’s near me, but they didn’t have frozen nattō. I put my quest on pause until I saw Hiroko Tabuchi tweet out a picture of 納豆素 from Yuzo Takahashi Laboratory, which was conveniently available on Amazon at the time. The spores are currently sold out but worth looking out for, and there must be somewhere else to purchase them online.

Once you have the soybeans, the spores, and an Instant Pot, you’re just about good to go. Here’s how I did it:

1. Soak the soybeans overnight.

I recommend starting with 100g. Most recipes will recommend 500g, which is far too much. 250g was enough for two weeks’ worth of breakfast. The soybeans will expand and soak up some of the water.

2. Cook the soybeans.

I used a steaming basket with 1.5 cups water in the bottom of the IP, but you could just as easily cook the beans directly in the IP container, in which case you’d need much more water.

If you’re using the steaming basket, you probably should cook on manual for 45-55 minutes, depending on how soft you want your beans. I haven’t perfected the softness yet. The first time I tried, I steamed them for 30 minutes and they were a little firm, so I had to add an additional 10 minutes. I think 55-60 minutes would work. [Update 8/22/20: I did 70 minutes on Manual and they came out perfect.]

If you’re boiling the beans, then I think 30-40 minutes is probably fine in the IP.

3. Transfer cooked beans into a sanitized container.

Everything from this point onward needs to be totally sanitized so that you’re not at risk of growing anything other than the nattō bacteria.

You can rinse everything with a sanitizer of some sort like a diluted bleach solution (or StarSan or Iodophor if you happen to be a homebrewer like me). If you’re using a stainless steel container for the beans, you can alternatively give it a quick steam in the IP to nuke everything on it and make sure it’s totally sanitized.

Pot-in-pot stainless steel pots are useful for this. There are two pots in the picture because I made 250g the first time I made them and had to split them up so that the beans didn’t get too deep.

4. Add spores to sanitized water.

Microwave 10mL of water for a minute or so until it boils, and then let it cool until it’s warm to the touch but not uncomfortably so (around 100F/37C). Then add 0.1g of spores to the water using the special spoon included with the vial of spores. Swirl up the spores in the water.

5. Add the spore water to the soybeans.

Pour the water on the beans and give it a stir with a sanitized spoon.

6. Ferment the soybeans.

Put your container in the IP and set it to the yogurt setting for 24 hours. Now you just wait.

You can look in, but I’d suggest resisting until at least 12 hours in to ensure that the nattō bacteria have a good head start and can outcompete anything else that might sneak in when you’re taking a look.

By 12-16 hours you should see the whitish film developing and notice that pungent nattō aroma. The beans will be ready by 24 hours.

7. Refrigerate the nattō overnight.

Pour the nattō into a food-safe container, and refrigerate it overnight. It’s ready to serve!

S&B Oriental Mustard is relatively easy to find and makes really good karashi. Alternatively you can check out my nattō experiments video from ancient history for some other recipe options. I think I’ll have to try the avocado version again sometime soon…